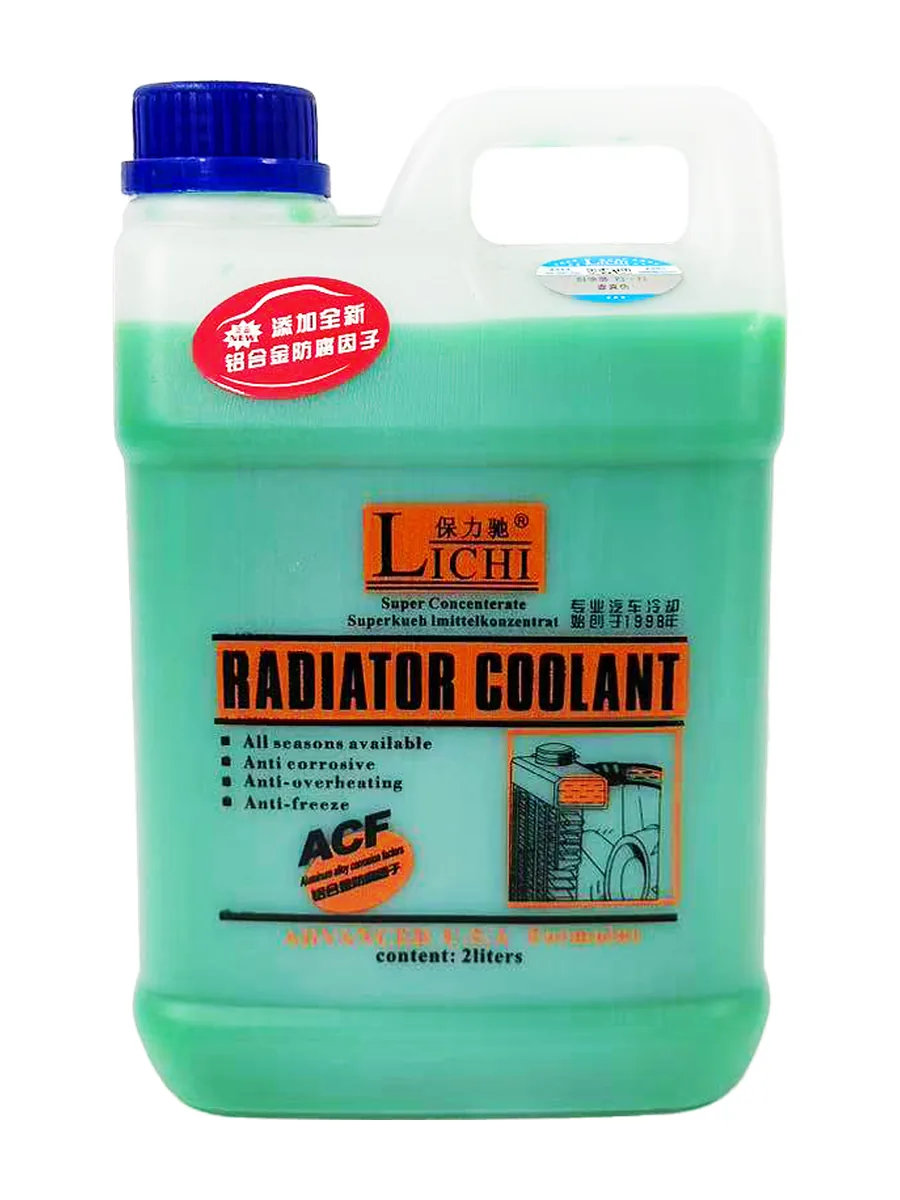
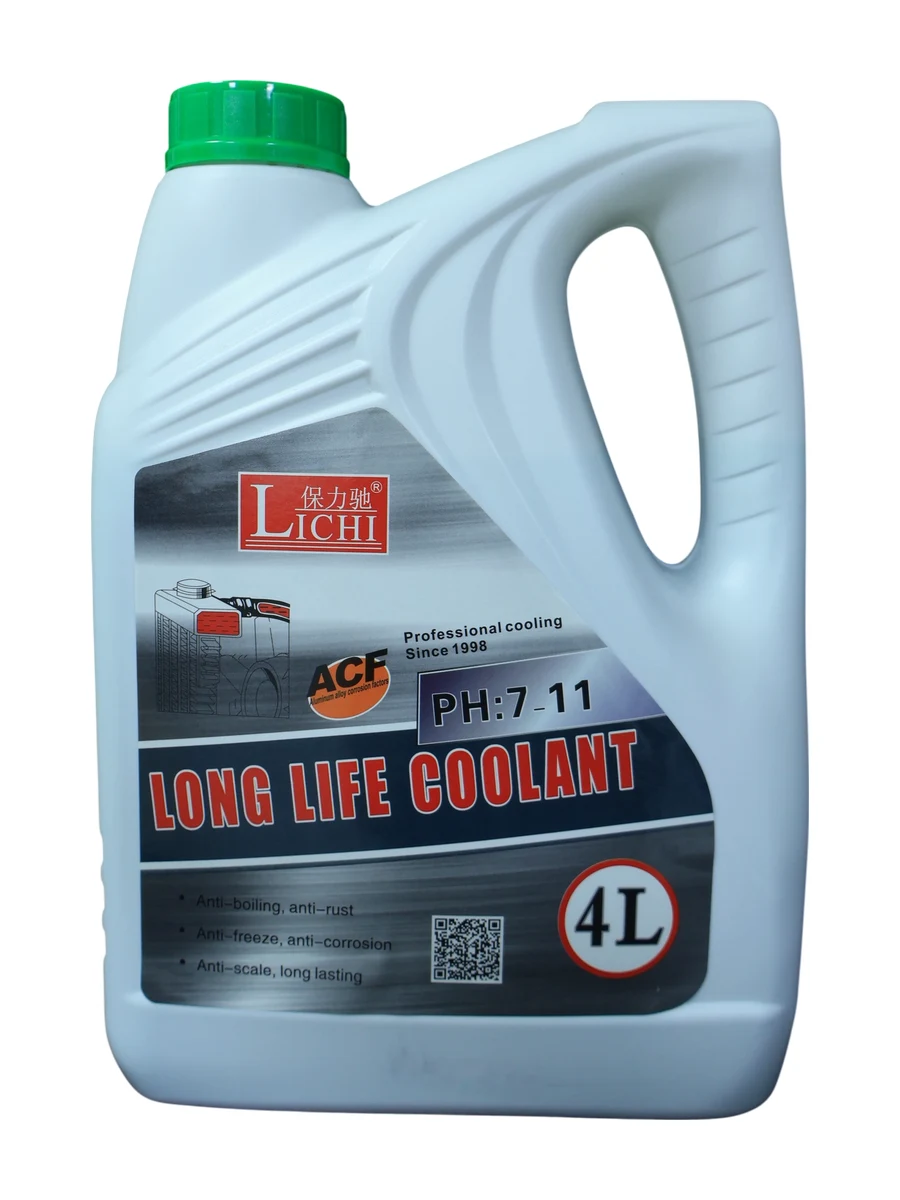
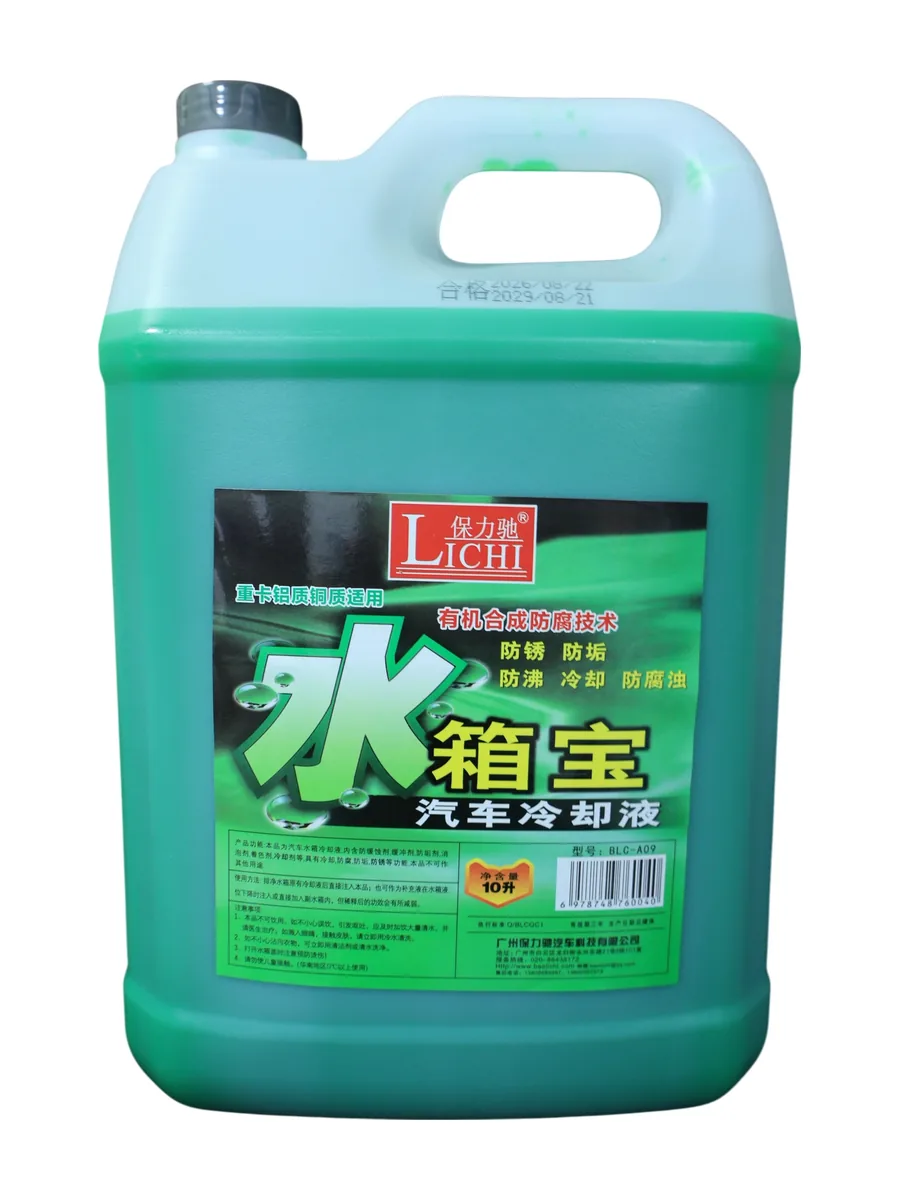
A coolant jug looks almost identical whether it holds a properly formulated inhibitor package or mostly coloured water. For a distributor or importer that is the core problem: the customer cannot see the difference, so when an engine rusts or boils over they blame the brand on the label rather than the watered-down product someone else sold them. The fix is not more arguments on the phone — it is a three-minute self-check kit you drop into every box. Hand a customer a refractometer, a test strip and a colour chart and they can prove, in their own driveway, what is actually circulating in the system. This guide lays out exactly what goes in the kit, how to use each tool, the teaching points to hand over with it, and a reading table that turns a measurement into an action. It is written for anyone who sells coolant and wants fewer warranty fights and more repeat orders.
What belongs in the three-minute kit
You do not need a laboratory. Four inexpensive items cover the great majority of what matters, and all of them fit in the carton alongside the jug. The point is to make verification so easy that the customer actually does it, rather than guessing and then blaming you later.
| Item | What it checks | Relative cost | Why include it |
|---|---|---|---|
| Handheld coolant refractometer | Freeze point / glycol concentration | Low | Direct reading from a few drops; not fooled by dye or dissolved corrosion products |
| Inhibitor / pH test strips | pH and reserve alkalinity | Very low | Shows whether the corrosion inhibitors are still alive |
| Colour-and-clarity chart | Visual baseline | Negligible | A printed reference for healthy colour vs brown or cloudy |
| Clean dropper or syringe | Sample transfer | Negligible | Keeps fingers out of hot, pressurised coolant |
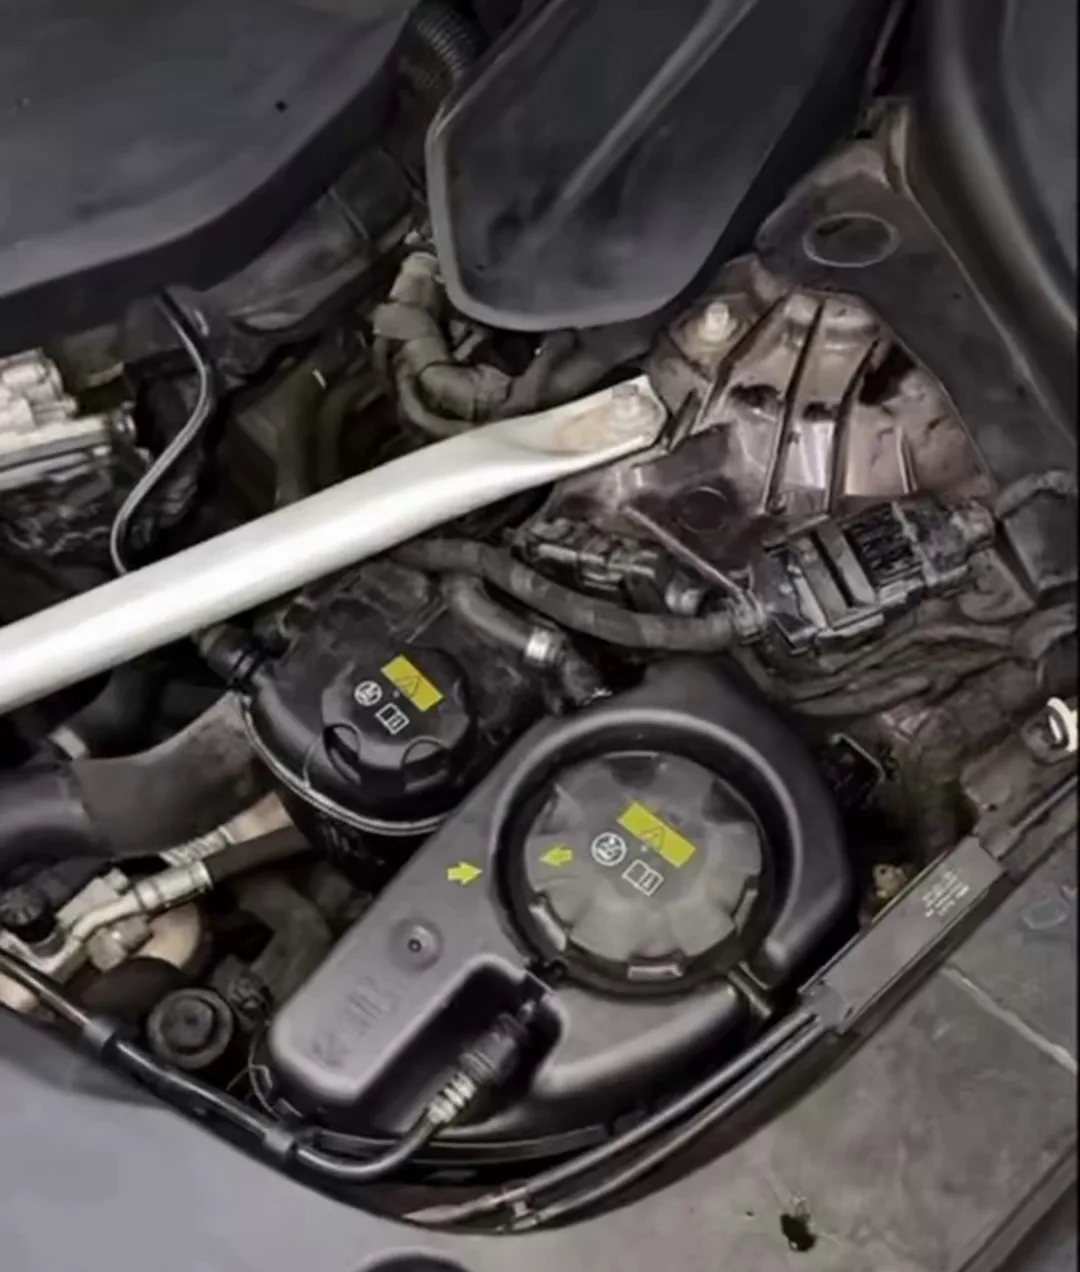
Step 1 — the freeze point, read with a refractometer
A refractometer measures how light bends through the fluid, which tracks glycol concentration and therefore the freeze point. It is the single most useful tool in the kit because it is fast, cheap and hard to fool. Place two or three drops from the system onto the prism, close the lid, point it at a light source and read the scale. A float-type hydrometer is the tool to avoid: it is thrown off by the dye and by dissolved solids, and it is slower and messier. The reading should match the label. A -37 °C product should read close to -37 °C, and a tropical 0 °C grade should read near 0 °C. If the measured freeze point is far weaker than the label claims, the coolant has been diluted or was never concentrated correctly. Concentration also sets the boiling point: a correctly formulated coolant boils in the 101–110 °C band depending on its freeze grade, and that margin rises further under the cooling system's pressure cap — which is exactly why a diluted jug both freezes early and boils over sooner.
Step 2 — pH and inhibitor reserve with a strip
The refractometer tells you how much glycol is present, but not whether the corrosion inhibitors are still working. That is the job of the test strip. Dip a strip into the coolant for the time the maker specifies, compare the colour pads to the chart, and you get a read on pH and reserve alkalinity — the buffer that neutralises the acidic byproducts of a working cooling system. A healthy coolant sits in a defined pH window with reserve to spare; a strip that drifts toward neutral or below is telling you the inhibitor package is spent even when the fluid still looks clean. This is the single best early warning a customer can get before metal starts corroding, and it costs pennies per strip.
Step 3 — the visual check
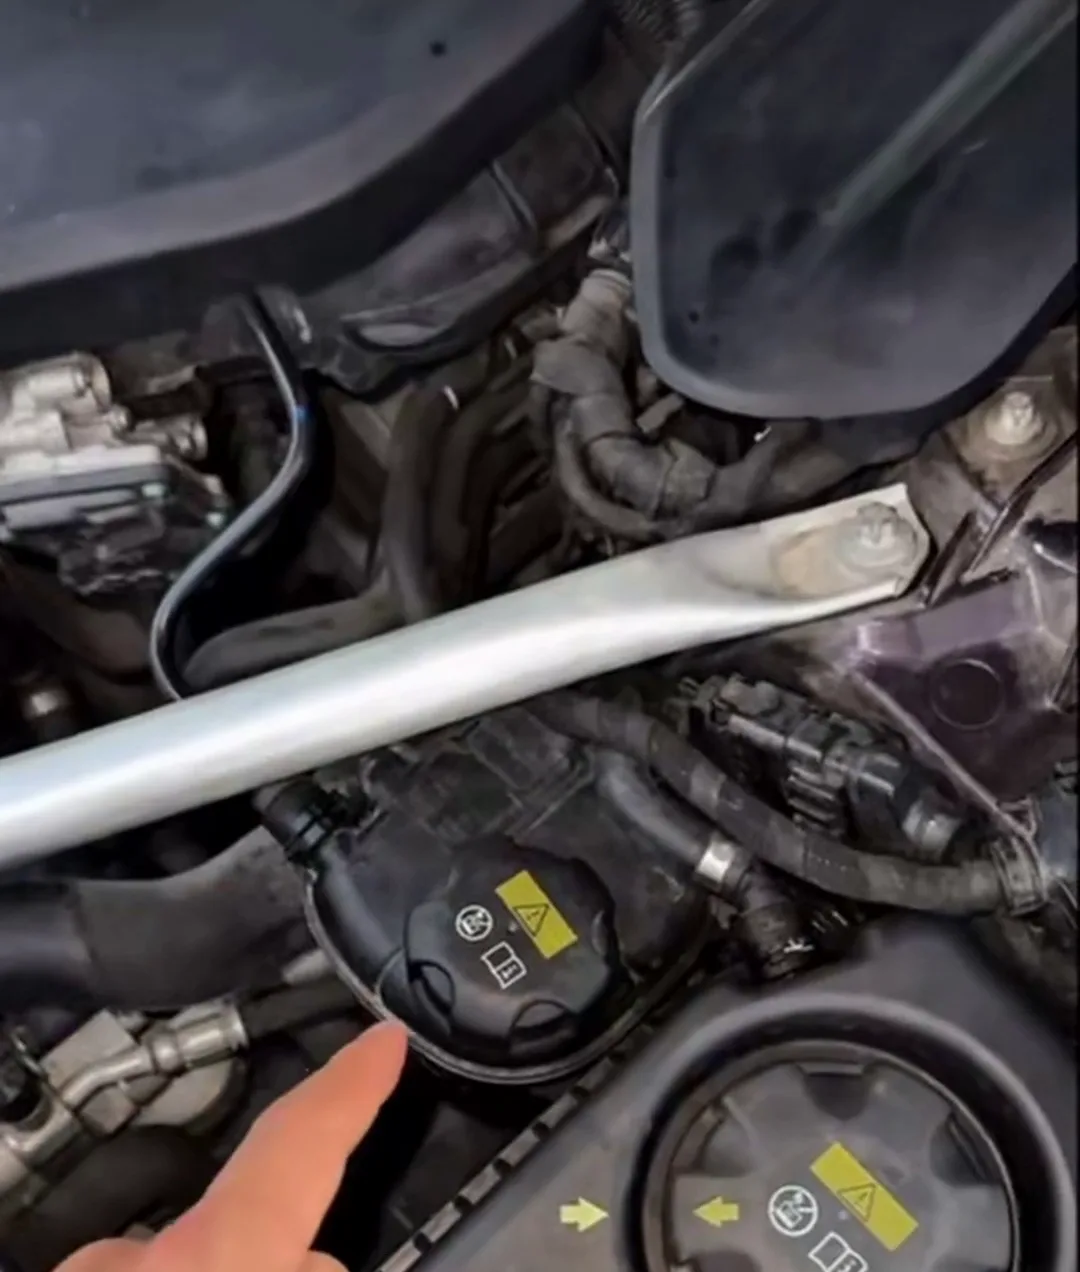
Instruments catch chemistry; the eyes catch contamination. Before any tool comes out, the customer should look at the fluid itself, because some problems announce themselves without a reading.
- Healthy coolant is clearly dyed (green, red, blue, purple or yellow depending on chemistry) and transparent — you can see through it.
- Brown or black coolant means oil, exhaust gas or heavy rust has entered the loop and the fluid is no longer doing its job.
- Cloudy or milky coolant points to water ingress or additive drop-out; either way the protection is compromised.
- Gritty solids in the bottom of the sample mean rubber hose degradation or scale, and the system needs a flush, not just a top-up.
- A low level that needs constant topping up is a leak signal, not a concentration signal — find the leak before chasing the chemistry.
Teaching points to hand over with the kit
The kit only works if the customer understands it, so print four sentences on the carton or a card. These are the points that stop a good brand being blamed for a bad jug.
- 1The colour is just dye. Green, red, blue and purple tell you nothing about strength — only the refractometer does, so check the number, not the hue.
- 2Water dilutes. Every litre of tap water added drops the freeze protection and the boil margin, and adds hardness that scales the system from the inside.
- 3A kit beats a guess. A three-minute check proves what is in the system; a guess is what gets a trustworthy brand blamed for a jug someone else watered down.
- 4Match the grade to the climate. A 0 °C tropical grade is right where it never freezes; a -37 °C grade is for real winter. The refractometer shows which one you actually have in the tank.
What the readings tell you
A measurement is only useful if it leads to an action. Use this table to turn the three checks into a decision the customer can act on.
| Reading | What it means | Action |
|---|---|---|
| Freeze point matches the label | Concentration is correct | No action; keep using and recheck at the next service |
| Freeze point much weaker than the label | Diluted or mis-formulated | Replace the coolant and question the source |
| pH in range, strip mid-band | Inhibitors still healthy | No action |
| pH near neutral, strip at the low end | Inhibitor reserve exhausted | Replace the coolant; flush if it looks discoloured |
| Clear, dyed, no particles | Looks healthy | Confirm with the instrument readings above |
| Brown, cloudy or gritty | Contamination or additive drop-out | Replace and flush; inspect hoses and the radiator |
Why this matters for importers and distributors
For an importer or distributor the kit is more than a courtesy; it is a differentiation tool. When every jug in a market looks alike, the seller who hands the customer proof of quality is the one who wins the repeat order and avoids the angry warranty call. Bundle the kit with every jug, print the teaching points on the packaging, and you have turned a commodity into a relationship built on evidence. It also protects you directly: a customer who can verify concentration is far less likely to top up with water and then blame your product when the system rusts or overheats. In markets where counterfeit and over-diluted coolant are a real risk, handing over the means to check is the strongest trust signal you can send.
Keep a record, protect the warranty
Keep it simple and consistent: record the batch number, the date and the readings for any coolant you sell in volume. If a field problem appears, those three numbers map it straight back to the exact lot you shipped. Pair that habit with the batch certificate of analysis, safety data sheet (available on request) and technical data sheet (ready to download) that accompany every grade, and the warranty conversation becomes a paperwork check instead of a shouting match. Most modern long-life coolants are specified for up to five years or around 250,000 km under normal service, so a kit that confirms the fluid is still in spec is what keeps that promise believable to the end user.
Frequently asked questions
| Question | Short answer |
|---|---|
| Can a customer really do this in three minutes? | Yes. Two drops on a refractometer, one strip, and a look at the colour — no laboratory and no special skill required. |
| Does the dye colour tell you anything? | No. The colour is cosmetic and varies by chemistry; only concentration and pH measured with the kit tell you anything useful. |
| What should a -37 °C product read on the refractometer? | Close to -37 °C. A much weaker reading means the product was diluted or was never formulated to spec. |
| How often should the customer check? | At each service interval, and every time they buy from a new or unproven source. |
| What if the strip shows low pH? | The inhibitor reserve is spent; replace the coolant and flush if it is discoloured. |
Request coolant samples, TDS and COA
Safety data sheets are available on request and product specification sheets (TDS) are ready to download for every coolant grade. Tell us your climate mix and monthly volume and we will propose a 0 / -15 / -25 / -37 °C plan with batch COA, boil-point data and private-label options. Visit bolitch.com or email sale@bolitch.com.